Description
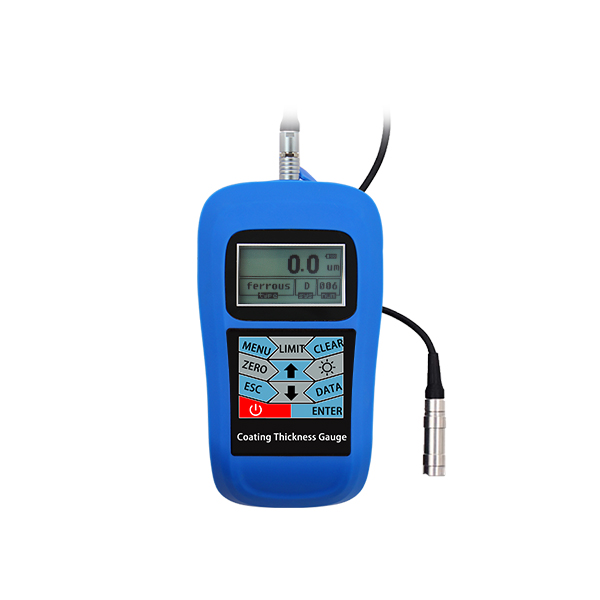
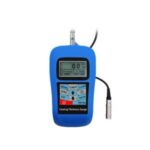
The JCT Coating Thickness Gauge is a highly reliable and precise tool designed for measuring the thickness of coatings on various substrates. With its robust full metal shell design, this gauge is not only durable but also portable, making it ideal for use in diverse environments. The device features a durable ruby probe that ensures higher wear resistance and measurement accuracy. Equipped with an alarm function, it alerts users when measurements exceed the set limits. The gauge provides five statistical values, including MEAN, MAX, MIN, NO., and S.DEV, enhancing measurement accuracy. It also supports data storage for easy management of single or multiple values, and optional PC software allows for convenient data transmission, analysis, and printing.
Specifications
| Attribute |
Details |
| Model |
JCT820 |
| Measuring Range |
0-1250 μm, depends on probes; MAX 10mm for probe F10 |
| Working Principle |
Magnetic & Eddy |
| Substrate |
FE / NFE base |
| Resolution |
0.1 μm |
| Display |
128×64 LCD with backlight |
| Accuracy |
±2%H+1μm (Note: H is thickness reading) |
| Memory |
5 files x 100 values |
| Unit Switch |
Metric (μm) / Imperial (mil) |
| Working Temperature |
Operation: -10~50°C, Storage: -30~70°C |
| Power |
2 x AA batteries |
| Weight |
340g |
| Size |
115 x 67 x 31 mm |
Additional Information
The JCT Coating Thickness Gauge can measure the thickness of non-magnetic coating layers on magnetic substrates, such as aluminum, chrome, and paint on steel or magnetic stainless steel. It is also capable of measuring non-conductive coatings on conductive substrates like aluminum and brass.
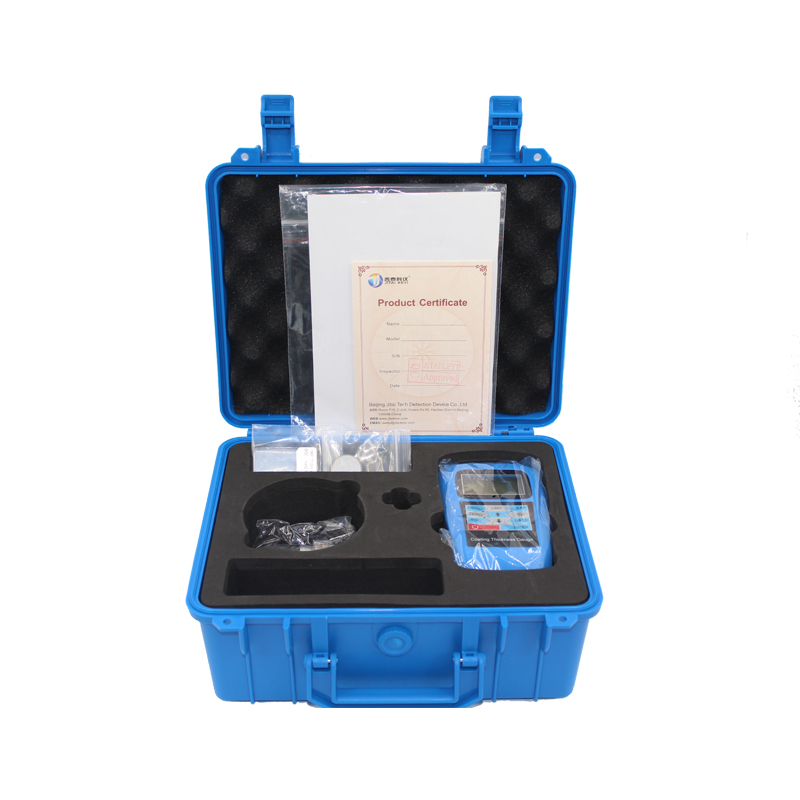
Standard Configuration
| Name |
Quantity |
| Main Unit |
1 |
| Probe (Fe or NFe) |
1 |
| Calibration Piece + Zeroing Plate |
5 + 1 |
| Operating Manual |
1 |
| Warranty Card |
1 |
| Instrument Case |
1 |
Optional Accessories
| Probe |
Measuring Range |
Operating Principle |
| F1 |
0~1250 mm |
Magnetic |
| N1 |
0~1250 mm |
Eddy current |
| F10 |
0~10000 mm |
Magnetic |
